One thing I really enjoy since I started using Fuji X cameras is that Fuji listens to us users and pushes out Firmware updates over time that don’t only improve speed and reliability, but also add features.
I have been enjoying the use of my Fujifilm X10 as my most compact “serious“ camera. I always take it along when I only have a coat pocket of space for a camera and I’m always amazed by the quality images I get from this small sensor camera. The awesome fast lens does work perfectly together with the EXR sensor. But the fast zoom lens comes at the price of a little bit bigger size. Unlike a Canon s95/S100 who’s lens retracts 100% into the body to give a small package that fits in your shirt pocket, the lens of the X10 sticks out too much for any shirt pocket that I own. But my coat pockets will hold the X10 comfortably.
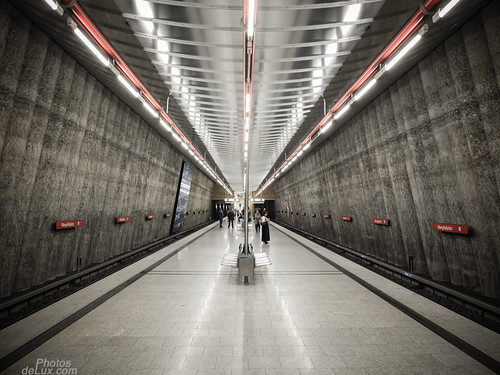
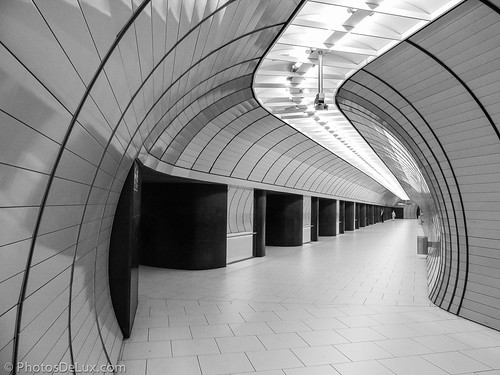
I just returned from a 1 day business trip to Munich. I only had a little extra room in my bag and it was easily filled with the X10. Here are three quick photos that I snapped on the way:
As always, click on the image for a larger version
A cool looking subway station that is hidden in the south of Munich:

And the very famous Marienplatz station that most Munich visitors come across:

The X10 has a great auto white balance even in this tricky yellowish airfield lighting and very good ISO 1600 quality for a small sensor camera
___________
Firmware 2.0
Last Friday my almost one year old Fuji X10 received a 2.0 firmware update from Fuji. Two things were mentioned as changes in the release notes:
1. The “Q“ (Quick) Menu that I love so much on my X-Pro 1 was added to the X10 “RAW“ button. You now have the camera’s most important functions all on one detailed screen to quickly change them.
2. An “Advanced Filter” function has been added. Those filters can be activated in the Advanced Mode and give you the choice of 5 special filter effects (Toy Camera, Miniature, Pop Color, High-Key, Dynamic Tone and 6 individual color key (partial color) filters.
I have spend some time over the weekend to play with the new firmware functions. The added “Q“ Menu alone made the upgrade worth it for me. Although you need to be aware that you loose the option to program the “RAW“ key with a custom function. The Fn key can still be programmed with you favorite function, though.
The color filters are a nice add on, too. But to be honest, I’m not a big fan of these filters in general. I do, however, see why Fuji added them to the prosumer targeted X10 compact. The X10 is a very capable compact camera. And I enjoy the excellent image quality and natural color rendition of the original files straight out of the camera. But there are users who prefer a different style of look to their images that had to be applied outside the camera in a photo editor, untill now.
But now you can choose the filter style you like in the Advanced menu and preview the effect the filter will create live on the LCD. One click and the image has been captured in that style and is ready for upload via USB, SD-Card reader or Eye-Fi card.
Here are some examples of what some of the filters look like (out of camera):
The Miniature filter:
The Dynamic Tone filter:
The Partial Color Blue filter:
And the High-Key filter:
While it is convenient to have the camera bake the filter style automatically into your photo there is a drawback. Once the JPG is created, there is no turning back! The effects only work in JPG and don't work on your RAW files. So there is no way to neutralize your image file after the filter style has been applied. Therefore use the filter effects wisely!
While I tested the filter effects, I started to wonder if their use could be improved. I came up with the following suggestions/questions:
1. Why can't the filter effects be created from a RAW file inside the camera's RAW converter like the film simulations?
2. Why can't the filter effects be incorporated into the "Drive" function "Film Simulation Series"? This way I could choose one or two effects and still have the original Provia file.
3. Why can't the filter effects be accesed in the "Q" menu for quick changing?Maybe Fuji listens once again to our suggestions - and please Fuji, add the "Q" menu to the X100's Raw button, too ;-)
If you have any further questions leave a comment below or Twitter me @HamburgCam
And if you liked my post I am always happy if you spread the word and retweet, like or google +1 it :-)


