I have spent a few weeks with the new Fuji XF 14mm f2.8 R lens. I had heard good things about it, yet it was not love at first sight for me.

Testing the Fujinon XF 14mm f2.8 R in the real world...
And that is not to say that it is not a pretty lens. It is very attractive looking and the markings for the DOF indicator clearly separates it from the rest of the current Fujinon XF lens lineup.
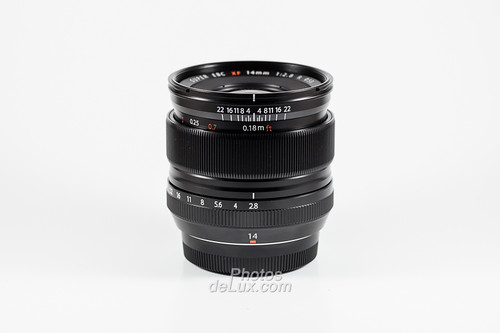
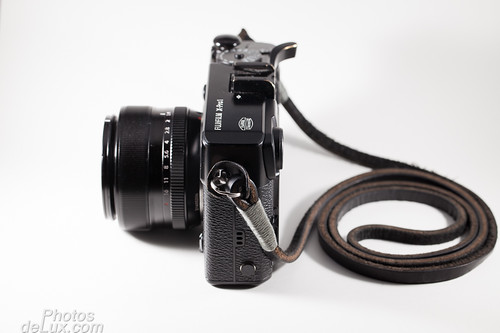
Fujinon XF 14mm f2.8 R lens
But the timing for getting the XF 14mm was a bit off for me. I had just finished some intense
testing of the Samyang 8mm f2.8 fisheye
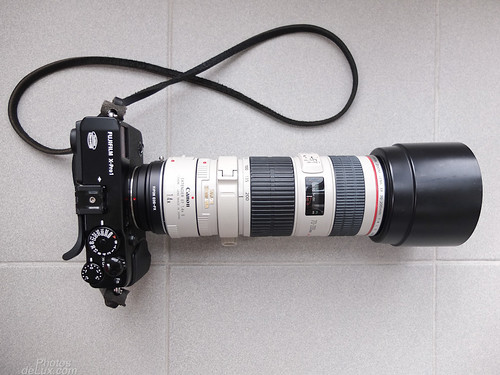
and absolutely loved the 180° field of view and image quality. And my main lens for the X-Pro 1 has been the light and very compact XF 18mm f2 for the past year. Compared to the XF 18mm the XF 14mm is big (41mm/1.6" vs. 58mm/2.28") and heavy (116g/0.26lb vs. 235g/0.52lb).

Fujinon XF 18mm f2 vs. XF 14mm f2.8
Will I be using the XF 14mm enough to justify the purchase? After all it is currently the most expensive X-Mount lens made by Fuji. And in the end it is only 4mm wider than the XF 18mm and even one stop slower.
Anyway, I now had the lens in my hands and did what I always do when I get new gear – I attached it to the camera, emptied my camera bag and locked all other lenses and camera bodies into my closet. The best way to get familiar with new gear fast is to use it intensely and exclusively.
So I went out on my first stroll with the new lens. But when I stepped out of my door I felt an unfamiliar strong pull on my camera strap (which I lug across my shoulder like a messenger bag). Not only is the XF 14mm heavier, it also sticks out longer to change the weight balance a bit into the “uncomfortable” department. Additionally, I do not like the style of lenshood that the XF 14mm requires. The XF 18mm and 35mm lenses have small and unobtrusive square lens hoods. But this is the Tulip style lens hood that draws much more attention and makes the camera look bigger than it is – not good for a stealthy aspiring street photographer.

Fujinon XF 14mm f2.8 vs. XF 18mm f2 with lens hoods
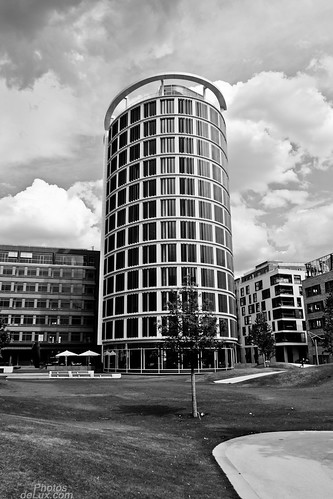
The 14mm lens will equal the field of view of a 21mm lens on a full frame camera. So the 90° field of view should be perfect for landscape and architecture. And while I have gotten really used to the 27mm full frame equivalent field of view of the XF 18mm lens, I could clearly see the added benefit of a 21mm equivalent field of view of the XF 14mm lens. You can get closer and still get everything in the frame.

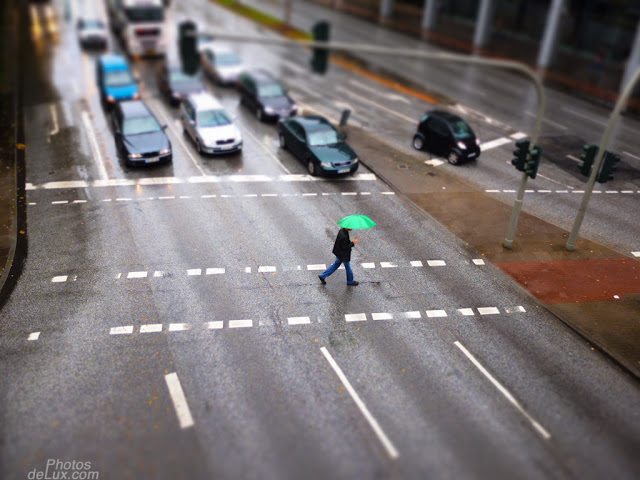
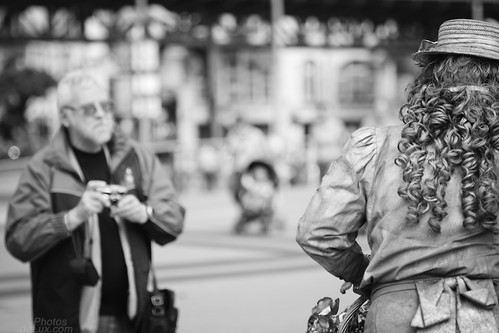
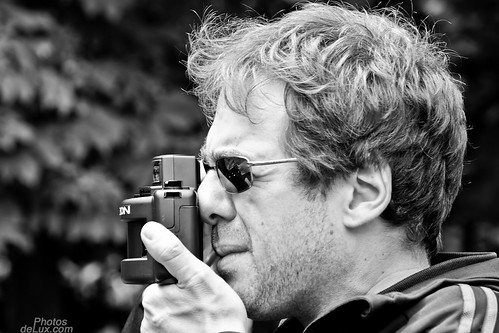
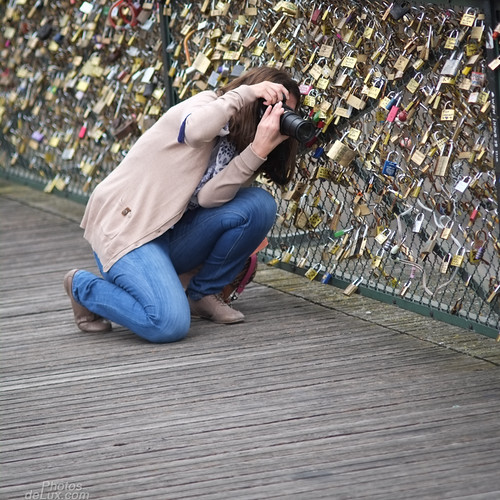
Wide angle lenses allow you to get closer to avoid having other photographers / tourists in your picture ;)

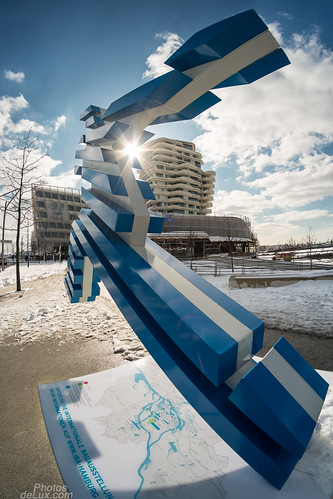
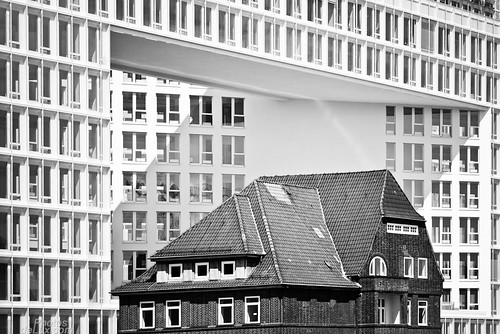
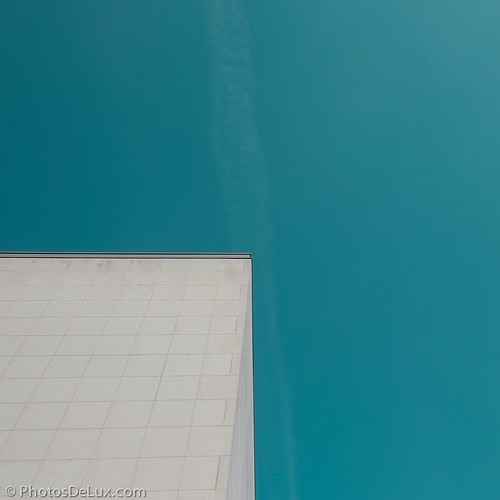
Hamburg Telemichel and Messehallen - Fujinon XF 14mm f2.8 - Fuji X-Pro 1
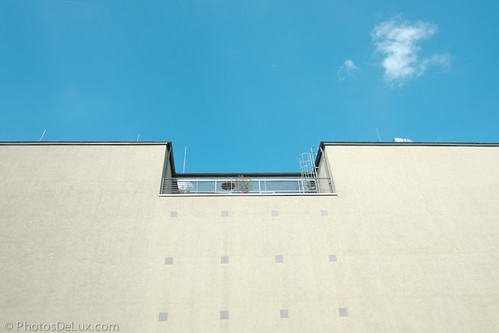
A quick check on the MacBook Air brought the first surprise: It does not show distortion - not even on the RAW file! Wow! For a wide angle lens like this, I’m impressed!
I also made myself familiar with the manual focus mechanism of this lens and it works pretty much the way I would have wanted it to. It is pretty comfortable to switch into the MF mode directly when you pull the focus ring back. No need to set the MF switch manually. And it goes right back to AF when you push the focus ring back to the forward position. Very smart! But it comes with one drawback: You can not automatically prefocus with the AF-L button in manual mode. The AF mechanism seems to be completely decoupled from the gears when in MF mode. And when in AF mode you can’t turn the MF focus ring as it is locked.

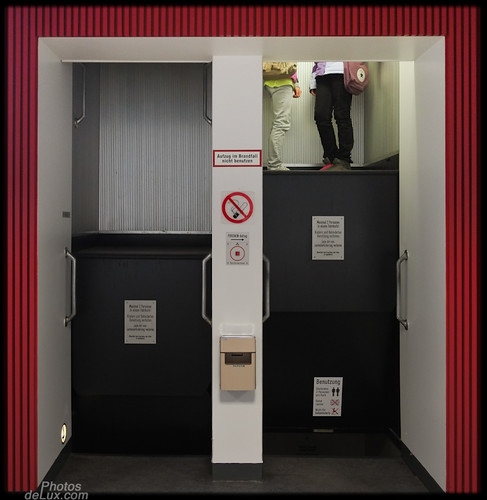
Fujinon XF 14mm f2.8 @ f4 ISO 3200

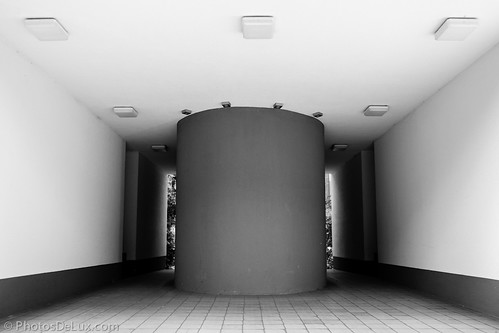
Car Elevator Elbtunnel - Fujinon XF 14mm - Fuji X-Pro 1
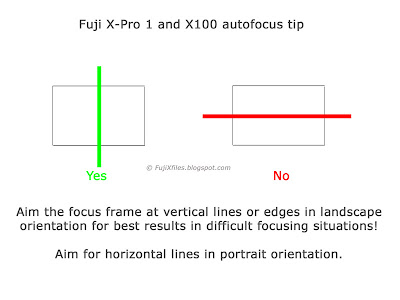
Zone focusing has worked well for me with the XF 14mm and it raises the question, why many modern lenses don’t get these useful markings any more?

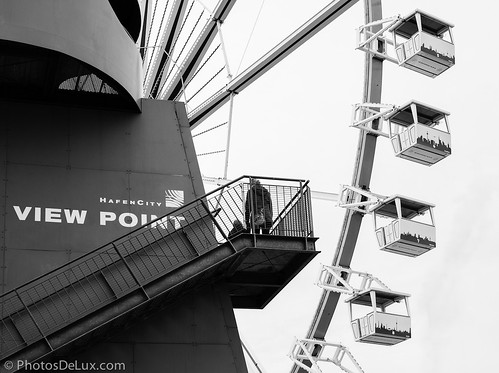
14mm gave the perfect 90° angle to capture this chairoplane
The manual focus is still focus by wire on the XF 14mm but it is the best feel of all the XF lenses I have tried so far.

Zone focus with DOF indicator on the lens worked well
The autofocus feels about as fast as the one in the XF 35mm and not quite as snappy as the XF 18mm
. The 58mm filter thread is a bit unfortunate compared to the 52mm of the XF 18mm and 35mm, but physics has it’s laws about front element size...

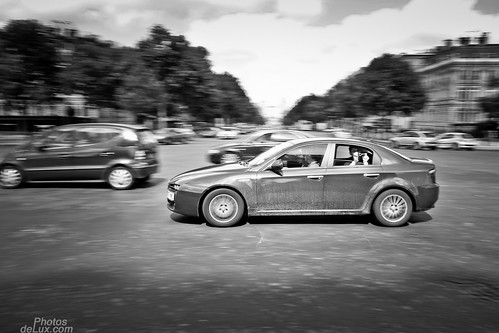
Roller coaster panning - Fujinon XF 14mm f2.8 - Fuji X-Pro 1
The lens handles flare pretty good for a 14mm wide angle lens. It shares the same lens hood with the XF18-55mm zoom lens. That is convenient for people who own both lenses and only want to bring one lens hood. But it also raises the question if the zoom lens gets the maximum sun protection on the wide end if the cover area is enough for an even wider 14mm vs. 18mm lens?

Backlight and flare test with the Fuji XF 14mm lens - Fuji X-Pro 1
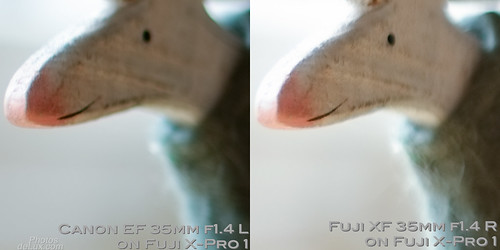
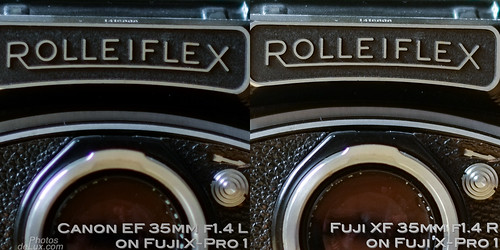
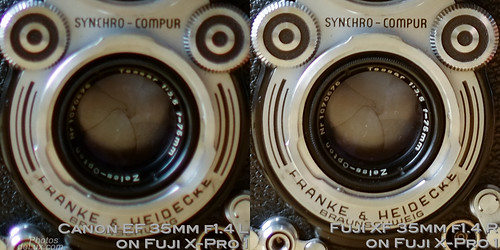
This brings me to the image quality. As always I do not test my gear in lab conditions. Others who are much better at this already do plenty of these tests. For me it is important to see how the gear behaves in normal shooting situations. And here the lens performs stunningly well! Sharpness and contrast are already very good wide open at f2.8 and gets even better (especially in the corners) at f4 - f5.6 range. I hardly shoot beyond f5.6 if I don’t have to. But I tried some daytime long exposures with a ND1000 filter and aperture up to f16 to get a slow shutter time. IQ is still good but you loose some sharpness due to diffraction beyond f11 – like with most other lenses, too.

XF 14mm long exposure: 15s - f16

XF 14mm long exposure: 15s - f16
There is a bit of vignetting wide open at f2.8 (corrected on the JPG files, visible on RAW) and it decreases slowly when you stop down. Nothing out of the ordinary for a wide angle lens, though. But the vignetting has not spoiled any of my images so far.

Hamburg Alster Fountain Rainbow - I even added some extra vignetting on the top of this image!
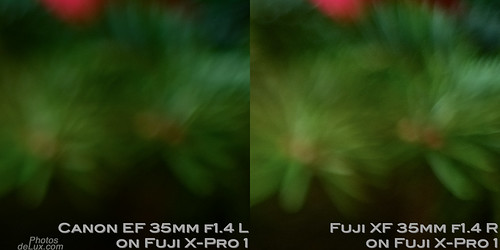
If you have followed my blog, Flickr stream and Twitter feed long enough, you know how important bokeh is to me. So how does the XF 14mm handle the out of focus blur?

Take Courage! Get closer than you normally would to get a smooth bokeh

My
Hamburg Bokeh Sightsseing series
benefits from the XF 14mm wide angle lens
After tons of photos in all different lighting situations I am nothing short of impressed. I hear a few complaints about the price of this lens. And at a MSRP of EUR 899,- / USD 899,- it does not generally appear to be a bargain for a Fujinon XF lens at first sight. But imagine you could buy a Leica 14mm f2.8 lens for this price – you would not think twice. And from my image quality point of view I would say that the XF 14mm is the most Leica like wide angle lens I have tried so far.
If you take a look at it from this point of view the lens is almost a bargain! :)
Positive:
+ Great image quality, color and contrast
+ DOF scale on the lens
+ Handles flare well
+ Value for money!
Neutral:
o Normal wide angle vignetting
o 58mm filter thread vs. 52mm on XF18 and 35mm
o 1 f-stop slower than the XF 18mm lens
Negative:
- Bulky lens hood (also obstructs OVF on X-Pro 1 quite a bit)
- A bit too big and heavy for my taste
If you have any further questions leave a comment below or Twitter me @HamburgCam
And if you liked my post I am always happy if you spread the word and retweet, like or google +1 it :-)